ARTICLE: People Management - Groups
Managing Groups
Bulk Update Contacts


Contact Bulk Data Management
People Management > View Contacts
Assigning users to groups is simply a matter of ticking the check box for the appropriate groups that you want them to be a member of and saving changes to their profile.
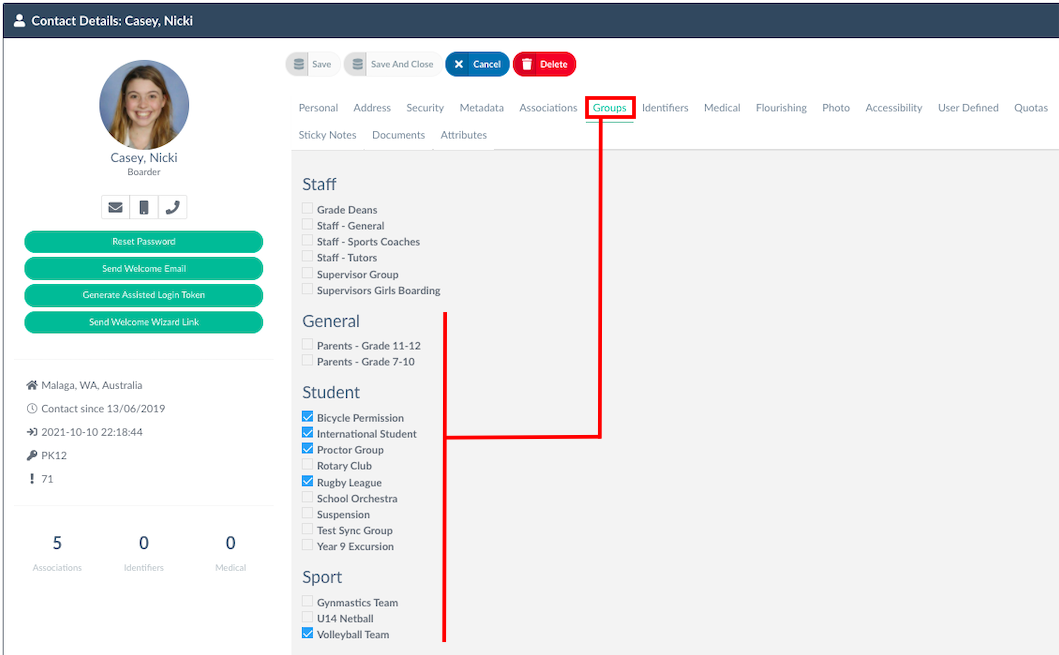
Assigning users to groups is simply a matter of ticking the check box for the appropriate groups that you want them to be a member of and saving changes to their profile.
System Configurations > Groups
You can create an unlimited number of groups in Reach for whatever collection of users you may wish to manage as a collective.
- Students can be assigned to groups that are formatted as Student groups, General groups or Sport groups.
- Staff can be assigned to groups that are formatted as Staff groups or General groups.
- Parents can be assigned to groups that are formatted as General groups.
Bulk Assign Groups
Once you have a Group configured in the system you can also easily bulk assign students to these groups in one of two ways: Bulk Update Contacts or Contact Bulk Data Management.
Bulk Update Contacts
People Management > View Contacts
- Filter to the Contact Type (i.e. Boarder) and select the check box for each of the students you want to add to the same group.
- Select "Bulk Update Contacts" and select the group you want to add the selected users to.
- Select the Group tab and select the group you want to add the users to then select "Apply Changes Now"
Contact Bulk Data Management
Reports > Contact Bulk Data Management
Through Contact Bulk Data Management, you can remove or add users to specific groups.
1. In Report Type set Groups
2. Set Contact Type (i.e. Boarder)
3. Select Load Data
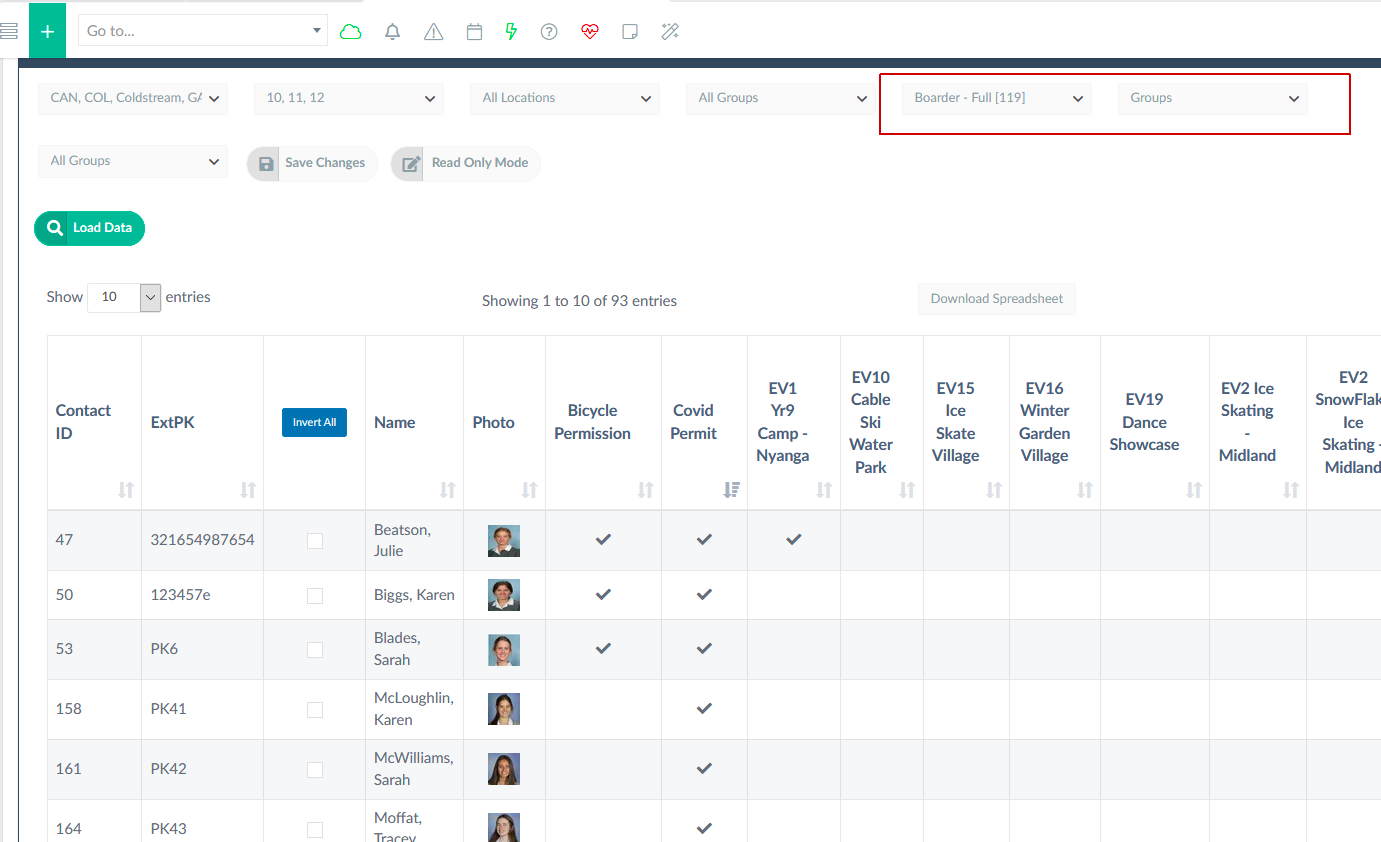
When the list generates you will see a Groups filter appear above the load data button together with the editing options.
1. Select the Group(s) that you want to alter
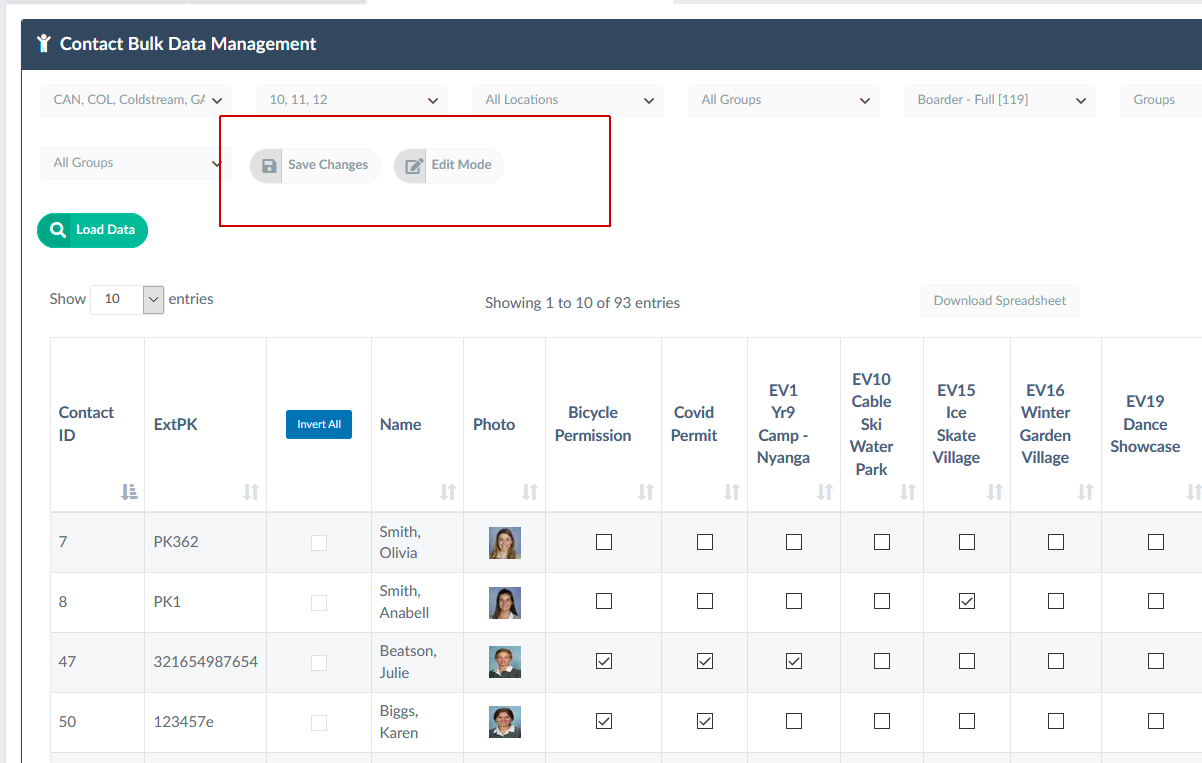
2. Select the READ ONLY MODE button. This will change the state of the screen to give it editing ability
3. Make your changes and be sure to SAVE your changes